Showing posts with label rivets. Show all posts

Wednesday, April 3, 2013

Cobalt Butterfly Part 4 - Setting Snaps

I had to learn all about snaps for this project. I hadn't used them much until now, and since the ability to remove the straps was the impetus behind this project, it seemed like the right time to figure out how to set them properly, and get a quality result. 

The first thing to know is that there are 4 unique parts to a snap, each with their own name: the cap, socket, stud and eyelet. The wider "female" cup-shaped socket pairs up with the cap, while the smaller "male" stud is held in place with the eyelet. 


I wasn't having good results initially, so I visited my local Tandy leather, where of course they recommended the "deluxe" setter set with anvil. I was having a couple of problems. One: the post often bent when I was setting them with the mallet. This caused the socket or stud to be offset to the side, and out of alignment. Maybe the post was too long? Maybe snaps come in different post lengths, like the rivets? 


The helpful guy at the store said "No, you want the post to have a bit of length on it. It's not a bad thing. You're probably not setting them correctly." Turns out there is a technique. 


He took the setter, anvil and a pack of snaps. We went to the back room, and he (using a poly mallet) started gently tapping the setter, all the while rotating the angle of the tool in a circular motion. He stopped part way to show me how the post on the cap was gently rolling down, like a turtleneck sweater. He just kept tapping, softly and slowly rotating the setter, taking his time to get the cap post snug against the socket. About 6 to 8 strikes per rotation. 


I think in retrospect I was probably hitting the setter too hard, and only straight down - as I would when setting a grommet. Instead of giving the cap and eyelet post a chance to fold or roll over by gently coaxing it from all angles, it was just bending at the bottom, and once bent a little there was no way for that roll-over to happen at all. Once you understand the technique, it's problem solved. Thank you, Tandy guy! 


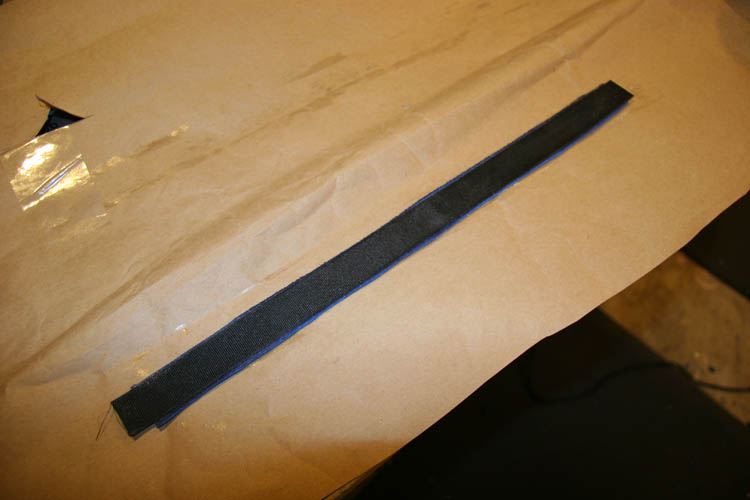
Now back to our jacket... First I set the snaps on the long straps, using a spacing guide. 


I decided to use a pair of snaps at each strap end to share the load a bit. It seems like one snap wouldn't be enough. 

 The idea is for these to attach to the loops on the jacket with the cap facing out, like so: 
 Looking good so far...
 When setting the cap side, you want to use the indent on the anvil that matches the size of your snap. 


I'm also experimenting with using a thin piece of leather between the cap and anvil to avoid scratching the cap. 


When setting the stud, you want to use the flat backside of the anvil. 

The same setter is used for all 4 parts. 
 I made a smaller strap to become a buckle keeper - it started out as a one and one-eight-inch strip, glued and folded to about a half-inch wide strap. 
 Using a double-thick section of strap as a guide, these are cut to the proper length for a belt keeper.
 I know there is a dedicated tool for this, but I just use a staple gun and a wedge of wood to hold the keeper together. 
 I can staple directly into the wood, then carefully pry it out with a screwdriver. 
 The ends of the staple get folded in and flattened with a tack hammer.  
 They look like little Japanese Obi.
 For the buckle-end strap, we start with the buckle, strap, keeper and template. 
I mark the position of the buckle tongue hole with the template. 
 Punch it out with the 0.625-inch oblong punch. 

 Slide on the keeper...
 Insert the buckle tongue through the hole (Make sure the buckle is oriented the right way. You can tell by the tongue which should be pointed down at the end.)
 Use a template to mark the position of the rivets. 
 Load a cap into the riveter.
 And rivet the buckle (and keeper) in place. 
Buckle number one, complete...
 ...and number two. 

So after a few more holes, and lots of tap-tap-tapping, we have the snaps complete on the short "buckle-side" straps. 
 And here's how it looks on the jacket:
 Now the fun part: I get to see if it works! 

Hmmm... I guess I still need to punch holes in the long straps too, but for that I need someone to try it on... Honey, are you busy right now? 


Tuesday, April 2, 2013

Cobalt Butterfly Straitjacket Part 3 - Setting Rivets

The next step on our project is attaching the rings which will become the attachment point for the removable straps. To do this we first need to figure out the correct size of rivet to use... You don't want to use a rivet that's too short - it won't seat properly. You also don't want the rivet to be too long, or it won't snug down and hold the parts securely. 


I had an assorted package of rivets, and just because I'm anal and obsessively organized, I needed to sort them by size first: 


I also have the need to convert everything to decimals to make it easier to add the proper allowance to the rivet to get the right size. You want the rivet to be one-eight to one-sixteenth of an inch longer than the thickness of the material you are riveting. 


Since there's a rolled edge on our project that keeps me from being able to measure it directly, I need to make a mockup using the same number of layers on the jacket. There are 5 layers total:


It turns out to be just under a quarter-inch thick. 


Add the minimum 1/16" (0.0625") plus the .247" and you get a minimum rivet size of 0.3095". If you go with the 1/8" maximum (0.125") plus the .247" you get a maximum rivet size of 0.372". The closest rivets to those sizes are the 5/16 and the 6/16" sizes. 


Before riveting the straps, I want to glue a reinforcement to the back. This is a tough nylon ribbon, very low-profile, with no stretch at all. It will back up the leather and add a lot of strength. 


Both parts get glue...

Fortunately the nylon strap is slightly under one inch wide, so it shouldn't be visible. 

 Once adhered, this gets divided into four parts - one for each of the connecting rings. 

It's time for the hardware loop. For this jacket I'm using these really nice heavy-weight nickel loops from Sav-Mor Leather in LA. Compared to the typical "strap-keeper" loop, it's much heavier and about 5 times the cost (60¢ vs. 13¢). But worth every penny! I'm not sure if they are cast, but they don't have the visible "weld" or gap that you see in the cheaper, lighter-weight loops.  (I totally recommend these loops, and yes, Sav-Mor can handle mail-orders!)


I normally backstitch when sewing to secure the threads at the beginning and end of each line of stitching, but in this case I want to sew through the leather as little as possible - I don't want to weaken the leather by perforating it more than absolutely necessary. So these thread ends all get knotted and tied by hand. 

 I make a cardboard template so all of my holes are consistent and aligned. (Hole alignment=very important!) I noticed I get better results when riveting (especially through many thicknesses) with a pilot hole. 
The straps are centered on a mark 5 inches apart, 2.5 inches from the centerline. 
Pilot holes punched:
 I also want to use the template to mark the hole position on the straps. It makes the centering and alignment easier than using a ruler or tape each time. 
 First loop riveted in place!
 From the inside. Looks good...
 Second one down...
I measured and marked the positon for the rear rings, on either side of the zipper. Holes punched, and rivets set...
 This part of the jacket is done!