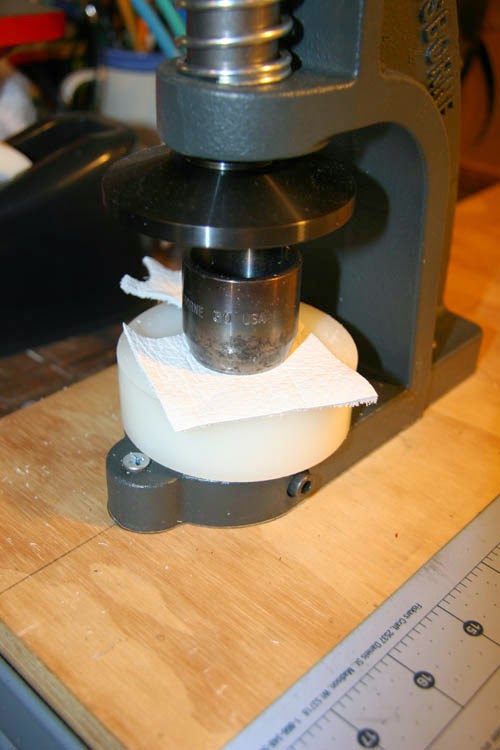
So I got a new toy in the workshop recently: an Osborne button-making press. It all started when I volunteered to make a friend of mine a tufted leather headboard for her king-sized bed. Of course we needed matching leather-covered buttons, right? How hard could it be?
 |
| My new toy! |
 |
| A close-up of the business end. |
The die set consists of a cutter, a top and bottom die, an allen wrench, dowel and nylon cutting block.
The bottom die is a spring-loaded contraption which will take the wire-back part of the button.
There's a hole in the middle to accept the wire protruding from the back.
The top die takes the leather blank and the part that becomes the front of the button.
It slides back and forth sort of like a piston.
Used with the nylon block, it should easily punch oodles of perfectly-sized leather circles.
To begin, place the nylon block in the press.
Place your leather on top of the nylon block with the cutter on top of that, roughly centered under the top plate.
Apply some pressure to the handle and you get a satisfying "chunk" as the circle cutter slices through the leather.
At this point, I'm going to pull out the skive to shave the leather down a bit, thickness-wise. I tried to make a button with the full-thickness leather, but it was a no-go. I think the whole machine is set up for thinner upholstery cloth-covered buttons, so it takes some fine-tuning to make the leather work with these buttons and dies.
In case you don't know: the skife is a razor blade knife where there is a slight curve to the cutting edge. This is perfect for shaving down the thickness of a piece of leather in a controlled manner.
I work on a piece of glass, because every other work surface I have would otherwise be damaged by the knife.
We're starting with a 1.07mm thickness on the leather.
After shaving the backside down carefully...
...I end up at .68mm thick. It makes all the difference in the world.
We're ready to grab our button blanks. One for the front, and one for the back.
Take the top die.
Place the leather blank face-down into the die.
Take your blank button front.
Place it face-down in the center of the top die, and push it into the hole.
Use the dowel to push the button front and leather all the way down.
You should be able to see leather all around the button face.
Now take the bottom die.
Load it into the machine (you can secure it with the allen wrench set screw).
Place the wire-back of the button into the bottom die.
The wire should be facing down.
Take the loaded top die...
...and place it on top of the bottom die.
Pull the handle down, and you should get this:
At least that's what I got at first: a messed-up button. See the cut along the edge? Too much pressure.
I found it handy to use a little screwdriver to remove the finished button from the die.
Try again, and with a bit less pressure you can get the button to turn out okay (without the cut through part).
I probably messed up one button for every two that turned out, but I'm sure with practice I could do even better. I'd recommend giving yourself time and extra leather to get the formula down pat.
I used a heavy-duty needle to thread the buttons through the sewn seams.
I put both ends of the thread through the eye of the needle.
I found I didn't need a pilot hole, I just put the needle in the center of the seam and pulled it through to the backside.
Given a decent tug, the thread and wire back nestled between the stitches and sat nicely in place. Check back later, and I'll show you how the finished project turned out.


No comments:
Post a Comment