
Here is a step-by-step process for making leather hoods that can be used with the open-faced and mouth-only patterns I posted here. These are perfect for a soft, stretchy lamb leather - and you can get a couple of hoods out of a 10 to 12 square-foot hide.
1. Refine pattern and edit for size if necessary.
2. Mark hide for defects to avoid when laying out pattern.
 3. Layout pattern pieces, use weight and transfer shapes with colored pencil.
  Parts list: Front panels x2, rear panels x2, large tongue, small tongue.
  3. Cut out all parts.
  4. Clip & sew front panel seam, top of rear panels.
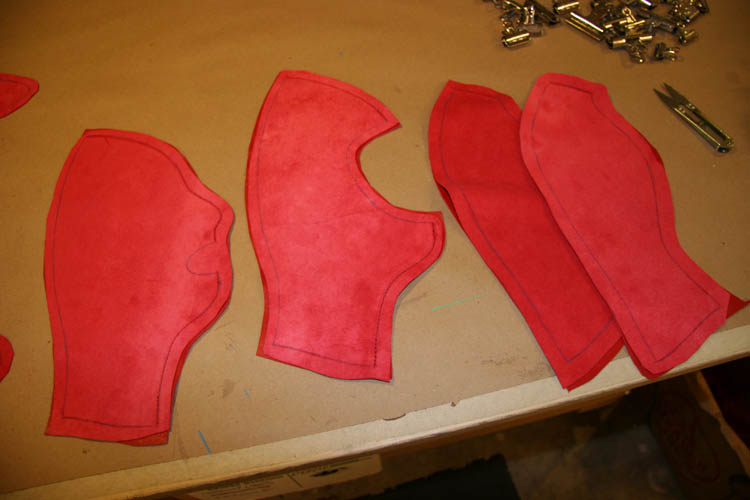 5. Cut & fold down any access openings (optional). Clip, glue & fold down seam allowances: front, top of rear....
 ...and rear opening.
  Open-face seam glued & turned in.
 Detail of inside mouth opening.
 Rear opening glued & folded.
 Topstitch openings.
 6. Set & tape small and large tongues in place.
 6a. Topstitch tongues using width guide - leaving room for grommets.
  7. Remove tape and trim excess from rear tongues.
  8. Clip front to rear panels, aligning on center seam.
 9. Sew front panels to back.
  10. Remove clips, trim...
 ...glue, fold & flatten seam.
 11. Re-draw bottom seam if necessary.
  12. Trim seam allowance to prepare for folding (or trimming if doing a rolled-edge).
  13. Glue, fold & flatten bottom edge seam. Trim tongue pieces if necessary to make room for rolled edge.
 14. Topstitch folded edge. Be careful not to sew through tongues.

 15. Mark position for grommet holes 1" apart with tape measure.
  16. Punch holes - go slightly undersize for softer leather.
  Punch nose holes too, if necessary.
  17. Set grommets with washers. Size #0 on the left, #00 on the right.
  18. Cut lace to length and lace through holes.
19. Lace hood on form & allow to stretch overnight (optional).
 19a. Admire your handiwork...(optional).
 20. Paint nose grommets matching red (optional).


