Tuesday, October 29, 2013

A Stunning Image from Kate O'Brien

One of the most rewarding things that happens since I started this blog is receiving an image or a quick thank-you note from someone who was able to use one of the patterns I've posted to create something for themselves. Often it is from someone making a costume, or a personal fetish item, but sometimes it's from another artist. 


This was the case this past week when I received a thank-you from Kate O'Brien, a remarkably talented Australian artist and photographer who creates builds fantastic images using found objects and costumes she makes completely from scratch. She found my hood pattern useful as a starting point, and was able to modify it to create the costume used in the image above. 

Please visit her site or her flickr stream see more of her amazing, intricate and beautiful work. And Kate, thank you for sharing it with all of us! 

Thursday, October 24, 2013

Clear Vinyl hybrid hood pix by Karen Hsiao


Karen Hsiao has been shooting with the vinyl and leather hybrid hoods we recently created together. The hood features several different snap-detachable face covers in different leathers. The photos are a bit of a different look from the Black Cherries set, all light tones and transparency... a really stunning model too! Check out Karen's blog here for the full set. 


And for those of you who are interested, the Black Cherries book is set to be released next month as well... It will be available for sale on Karen's print site. I'll let you know here as soon as they are on sale! 

Armbinder Design Evolution

Been busy working on the armbinder pattern, trying to get the fit of the hand pocket just right. 


I think I finally made a breakthrough, but not without some trial and error first. You can see the final result below on the left: A slightly more generous sized hand pocket at the end of the same armbinder shape that I have been using for many years. The problem with the old armbinder pattern has been that the lacing panel doesn't come completely together at the hands when the armbinder is on, and I want it to. Initially I wanted the ability to cinch down the hands all the way to the fingertips. But I've come to think it looks better if the hand pocket is completely closed, and the lacing panels can meet. 

The danger is: I don't want it to look oversized either. The fit and size have to be just right for this to be a success. 


To arrive at the new shape I went through four separate prototypes based on the tape wrap I completed a couple of weeks ago. 

You can see from the wrap that the hands definitely have a rounded 3-dimensional shape, especially at the base of the thumbs. I considered the idea of having darts across the hand to help create that curved shape, but wasn't sure I would like the way that might look. A seamless leather pocket for the hands would be best. 
 I made marks on the wrap to indicate the transition from hand to arm, and also the point where the hand pocket should begin. In my original armbinder design, the lacing goes all the way down, almost to the tips of the fingers. In this version, I want the lacing to start further up the hand. 

The first go represented a radical departure: a spoon shaped third piece that could help create the pocket for the thumb side of the hands to fit into. This turned out to be a real pain in the ass to sew...


...which in itself wasn't a reason to abandon the idea. Ultimately, it didn't do much to create the contoured shape, even with all that effort. 

Of course, it took a second try before I ruled it out completely. 
Prototype No.3 went back to a 2-piece design. But it ended up with a pronounced hump on the thumb side, that needed to be flattened out a touch. But I was getting closer... The fit was looking really good. 
Ultimately, after some modifications to the No.4 prototype, it was time to see how it worked as a full working armbinder pattern. 
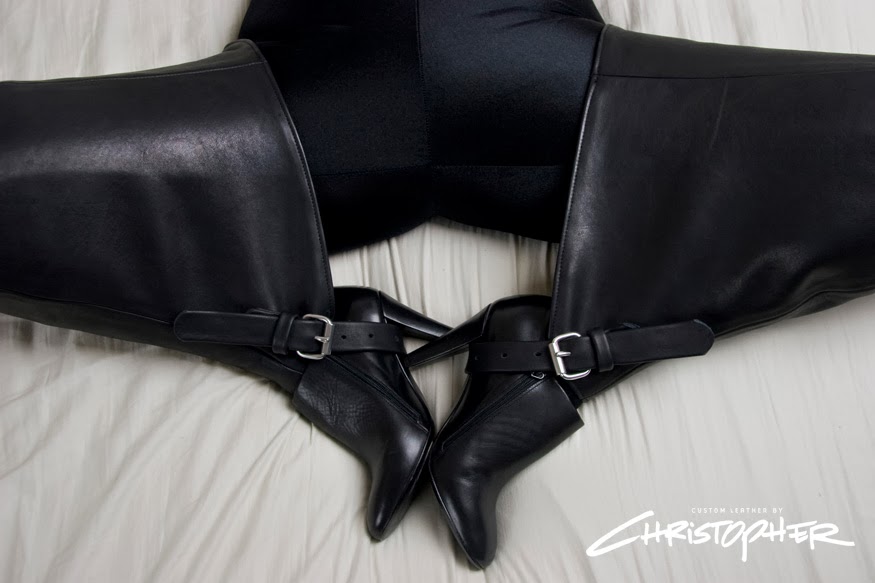
 I also took the opportunity to experiment with a different way of attaching the buckle strap: making the strap straddle the end piece at the point of connection...
 ...instead of placing the buckle completely under the flap, as I have done up 'til now. 
 Taking copious notes along the way (of course), so I can come up with a standard way of doing it from here on out. 
 I still don't have a definitive answer as to whether this has worked or not, as the test fitting has yet to take place... but I'll let you know as soon as I find out. 


Saturday, October 19, 2013

Male rear-zip straitjacket with removable straps

Here's the male half of the pair of His & Hers straitjackets... both with rear zipper entry and detachable crotch straps. Because sometimes you want them, and maybe sometimes you don't. =0)


 These jackets both feature side-loops - to prevent the arms from being able to slide up or down the jacket. 
 I hope to detail the "making-of" in a future post...
Another project out for delivery...

Female rear-zip straitjacket with removable straps

Just wrapped up the pair of His and Hers straitjackets... This is the girl version: 2-tone black and red with snap-detachable crotch straps. 


Thursday, October 17, 2013

Leg Pocket Prototype Pix

Finally got a chance to shoot some pictures of one of my current experiments: Bondage Leg Pockets!

The design is based on the idea of holding the legs in a bent position - similar to the f-suit, but with a strap that runs under the foot to hold it in place. Works with or without heels, but looks better (for me anyway) with the high heel. 
It gives you a bit more exposure and movement compared with the f-suit, with the added feature of d-rings at the knees so the legs can be held spread out or in other creative positions... 
 As with most prototypes, I learned a lot from this little experiment. I definitely want to refine the shape of the pocket to fit better at the knee. It's a little too "squared-off" for my taste. 

Unfortunately, I found that you have to bend the knee so far to get into the pocket that knee-high boots probably won't work with this restraint... =0( 

Also, for some reason I keep wanting to find a way to make them link or zip together... but that may be an idea for entirely different project. 
 I do really like the way it shows off the heel and sexy shoes, however... 

On to version 2.0...

Wednesday, October 9, 2013

Boot Binder test fit photos

Took some nice photos of the boot binder prototype... I definitely have some adjustments to make next time, but overall I'm pretty happy with how it turned out.

The bottom would look even more smooth if I had a foot-pad in the shape of the boot. Unfortunately, the one I stuffed in there created a bump on the bottom. 
I learn a lot every time I test a pattern like this. It just helps to try it out in leather before you spend too much time refining the pattern. I think it's called "ready, fire - aim". You can get paralyzed if you spend too much time trying to figure out all the "what ifs." 
Once you have it made and try it on, some things just work themselves out. I'm pretty surprised how well the little mini pocket for the heels fit. It wasn't too much trouble to get the boots into the pocket, either. This is going to look so nice in a slightly heavier leather. 
 I can't wait to get this idea integrated into a full-coverage sleepsack. (Insert evil laugh here...) =0)
 Until next time...


Making the Boot Binder Pattern

This project is the first step towards making a sleepsack with an integrated high-heel pocket. I'm going to try making a foot pocket that will tightly conform to (and completely restrict, I hope) a pair of killer high-heeled boots. It will be built into a sleepsack (eventually) that will also have the arms in a behind-the-back monoglove position. 

I was partly inspired to try this after seeing the image below from Eric Stanton's "Pleasure Bound" years ago. It's going to be one seriously cool (and restrictive) sleepsack!
I start with plastic wrap, then cover it with a couple of layers of duct tape. I start making decisions about how I want the shape to be as I make the wrap. For example, I liked the way there was some separation between the toes creating a kind of curve in the front. It seemed better than just making it go straight across. 

The rear was another place where there could be different ways to approach the design. I decided to go with the heels pretty close together, and since they're pencil thin it really restricts the type of boots that can be worn inside the restraint. I guess I'm okay with that, because after all - the more extreme the better, right? 
 You can see the pattern has been cut into 4 pieces, following along the guidelines I drew with a sharpie. I do my best to keep the sections roughly the same size, although they can be evened out a bit during a later step. 
 I try to cut along natural break points in the pattern - places where the curve or shape just can't be made with one flat piece of leather. The bottom of the boot pocket and heel (shown below) can actually be one piece, similar to how it would be on an actual shoe. 
 I start off tracing one side onto butcher paper. I made some marks indicating the direction of stretching that will help the boot pocket take the correct shape. This will help me place the pattern on the leather in the correct orientation as well... 
 Now the second side is traced over the first, resulting in two sets of lines. 
 I usually average out the difference between the lines to get the final pattern shape. If one pattern is a bit too big, and the other is a bit too small, a line between the two should be just about right. 
 For the front of the boot binder, I started off trying to make it all from one piece. 
 But after taking into account how curved the lower front part of the boot binder was, I decided at this point to make the front panel in two separate pieces, one for the shaft, and one for the side and toe. 
 Here you can see the final line for the front panel of the boot binder pocket. 
 The toe sections (including what on a shoe would be the upper):
 Transferred to the butcher paper, they look like this:
 And the bottom of the binder forming the sole and inside of the heel pocket:
 All the parts get labelled and cut out. 
 Time to transfer to leather for the prototype. On something like this, I'm not so worried about orientation: this is just making the most of a piece of scrap leather. On a finished piece, all the pieces would have to have the grain running in the same direction. 
 Parts are all cut out with an approximately 3/8-inch seam allowance. 
 Toes are clipped and sewn to the front panels. 
 Rear seam clipped for sewing:
 Rear seam gets flattened and glued down:
 Toe and upper seams get glued down...

 Front seam is glued down, to make it ready for the zipper. 
 Zipper gets sewn into place, first one side...
 ...then the other:
 I put a couple of stitches in with heavy waxed thread to make a zipper stop. 
 Side seams clipped for sewing.
 Side seams get glued down...
 Bottom of foot pocket is clipped and sewn in. 
 And those seams get glued and flattened. 
 Turn the workpiece right-side out...
 And prototype complete! 
 Came out pretty cool... 
 Can't wait for the test-fitting!