For a long time, I've wanted to make a pair of super-tight fitting bondage fist mitts.
I've always thought boxing gloves had their own special appeal. Something about the way they render the subs' fingers useless, making them even more helpless. Especially when combined with additional bondage. These are going to be a sleeker version than a boxing glove, a more couture take in soft black lamb leather, with a zipper for quick on-and-off. Did I mention they'd be really tight?
I start with a careful, fitted wrap. Duct tape over plastic wrap.
Sketch some keylines with a sharpie to define the pattern shapes. I'm looking for natural plane breaks, and trying to make pleasing, not-too-hard-to-sew shapes. Smooth out those curves.
I put a piece of string under a strip of masking tape to create a kind of quick-release tab. Once the wrap is done, just pull the string to let your model out. This gets taped back up before cutting the pattern apart.
Initially I have four parts:
Two sides, and a top and a bottom piece. I like the way the sides are...
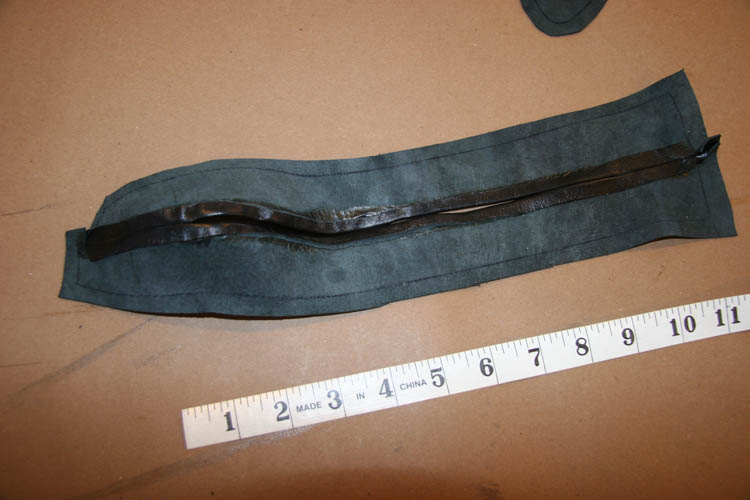
...but the piece for the top has a very pronounced cupped shape. (Shown below in an out-of-order image.) That was not going to lay flat as it was.
So I split that top piece into 2 parts, giving me two hockey-stick shaped pieces. 5 pieces total for the pattern.
These all get transferred to card and cleaned up.
And finally cut out, ready to transfer to the leather.
It's a soft black Italian lamb measuring about 0.7mm thick.
I transfer the pattern with a pen - nice, precise marks.
These get cut out with about a 1/4" seam allowance. I keep it minimal on this thin leather.
I clip what will be the zipped top panel first. This gets sewn only at the two ends (leaving room for the zipper in the middle).
The whole seam gets glued down, prepared for the zipper to be sewn in.
Lately I've been using double-sided tape to hold the zipper in place before sewing. It allows very precise placement, and keeps things from moving around at all while going through the machine.
Get everything lined up... stick it in place with the tape...
...and carefully topstitch.
Instead of backtracking on this delicate leather, I usually trim the threads long and tie them from the backside.
Trim the zipper to length.
Prep the tongue with double-sided tape.
Position the tongue, and topstitch in place.
This gives you a second line of topstitching on the tongue side.
You can trim the tongue down if needed.
Clip the bottom strip to the top where they meet, and sew that together. Glue and flatten that seam.
Now, we're ready to sew on the sides. These get clipped in place and sewn.
I find it best to sew the "shape" and let the strip follow along. So I'm looking at the line for the side panel when sewing these together, and letting the "top and bottom" panel follow along from below. (Hope that makes sense.)
One side down... time for the other.
Same deal as before: Clip...
...and sew, following the line on the side panel.
At this point, I use a 1 by 2 secured to the workbench to hold the workpiece in place.
There's a bit of foam at the tip to help the hand pocket retain its shape.
It gives me something to push against as I glue and flatten the seams.
I just brush contact cement on the seam allowance, and flatten the seams all around.
Turned right-side out, I'm pretty happy with the shape.
The bottom edge gets glued and topstitched as well.
And our mittens are done. Ready for the test-fit session.


Woohoo they are lovely!
ReplyDeleteThey came out pretty cool... Thanks Nána!
DeleteThis looks already times very well.
ReplyDeleteI am wondering the result. :)
Stay tuned for some photos of them being tried on. =0)
ReplyDeleteWow, they look fantastic. I can't wait to see the result. :)
ReplyDelete