Friday, August 30, 2013

Black Cherries limited-edition Art Prints Now Available!

I'm happy to announce that fine-art prints of Karen Hsiao's Black Cherries series are now available on her website. We've been working together on creating these images over the past year or so, and it's really exciting to see them complete and beautifully printed. These are each signed and numbered by Karen, and come with a certificate of authenticity. 

These editions are limited to just 25 prints each image, so be sure to order soon if you are interested in a particular one. It's a very small run, and they could sell out quickly. 

I think "Black Doll" came out pretty amazing:


And I'm still partial to "Red Butterfly Girl" myself...


I always marvel at the model in the "Black Widow" image - she managed to shoot with that heavy molded leather hood on (without nose holes!)...


Karen's also offering a Limited Edition "Strawberry Kisses" 5 piece card set, printed on fine art watercolor paper, signed and numbered with race paper and seal stamped - for only $25. 


Kudos to Karen - I can't thank you enough for making these images real, and for sharing with me your incredible talent, drive and creativity! You are inspiring, amazing and wonderful to work with. It's been a labor of love, and you are a true artist. I've been humbled by the experience. 

Visit Karen's site here  to see more images from this series...

Wednesday, August 28, 2013

Vinyl Bondage Hoods part II

Finished up two additional hoods in the smoked vinyl tonight. These are challenging to sew, and pretty much just an experiment to see what's possible with a material that is very different than the leather I'm used to working with. This mouth-only hood is number two of three:


It's kind of hard to see because my head form is rather dark, but these hoods are actually transparent. In the photos it looks a bit like smoked glass. 
The third variation is an open-faced hood with a snap-on face cover. 
 Now you see her...
...and now you don't!
I don't think this vinyl would be durable enough to make something for resale - it wouldn't hold up to any kind of serious use. But for a special effect, or photo shoot, it promises to give a unique look. I can't wait to see these tested on a model. 

Sunday, August 25, 2013

Transparent Vinyl Hoods

I've had some smokey transparent vinyl sitting around the shop waiting for the right project, and decided to finally turn it into some experimental hoods. It is only about .34mm thick, but strong and slightly stretchy. The cool thing about it is the fact that at first glance, it looks like patent leather. But look closer, and you can barely see through it - like a darkly tinted window. 


The vinyl is kind of a pain to work with. Marks have to be made with a white colored pencil, and they very easily rub off...
 Also, the seam allowances are going to be visible, so they have to be uniform. 
 The material can't be glued down, so all the seams are going to have to be topstitched. 
 The plan is two open-faced (one with a snap-off cover), and one mouth-only hood. 
It's always interesting to take something you know, and try it in a different material. Keeps things interesting...

So far, so good... One down, two to go. 

Saturday, August 24, 2013

Edge Finishing and Hand Sewing Leather


I have been working on a project involving edge-finishing and hand-sewing leather, which are two areas of leathercrafting I've been trying to learn more about recently. I've spent a lot of time lurking around on leatherworker.net, which has many answers provided by amateur and professional craftspeople - some with many, many years of experience. I've picked up lots of really helpful tips...

The idea for this design is to add stitched detail around the eye openings on one of my molded hoods. This one didn't turn out too great, so I'm using it to experiment with a bunch of different techniques. The idea was to make the eye openings just little slits, but surrounded by a piece of oblong vegetable-tanned leather. I wanted the stitching to be prominent, so it becomes a part of the design. 


I start off by cutting the oblongs from a 1-inch strap of 6-7 oz. veg-tan leather. 
I use the strap-end cutter to round the ends, and the oblong bag punch to cut the slits inside. It's pretty tough to get the punch through the veg-tan, so I usually end up completing the cut with a hole-punch and x-acto knife.  

 I create a stitching groove with my stitching groover... It's adjustable so you can vary the distance from the edge. Usually you want to be about the thickness of the leather away from the edge - that's a good rule-of-thumb. 
 It's kind of tricky, but I grooved along the inner slot as well, just to create another shadow line. 
 Now I use the edge-beveller to knock the sharp edge off the leather and give it a round shape. 
 The edge-beveller has a groove in the bottom, so it just slides along the edge of your workpiece. 

 Done with the edging...

Now it's time to start finishing the edges. Here are some of the things different people use for edging: Sandpaper, canvas, saddle soap, edge-coat, parafin wax, beeswax, and a wood edge-slicker. I found the edge-slicker on ebay for around $5, including shipping from China! 

 
On these pieces I lightly sanded with the sandpaper, and then used gum-tragacanth on the edges. 
 I buffed the edge with heavy canvas cloth. 
 I laid the piece on my granite surface plate, and rubbed briskly with the canvas. You actually want to generate a bit of heat, and that with the pressure and friction help bind the leather fibers together. 
 It should give you a clean, smooth and shiny edge. 
 Once it was dry, I applied a bit of brown Fiebing's edge kote, using a small brush for inside the opening. 
 I cut the openings for the eye using a hole-punch and x-acto. 

 I actually tried drilling the nose-holes. Wasn't easy - there was no goo support underneath, and I ended up making the holes out of alignment. Good thing this is just a production test! 

I think the bare eye-slits look pretty cool at this point. May have to do a hood like this in the future...

But for this one, I'm sticking with plan "A". 
 I apply some contact cement to the hood and the eye pieces. Even though they are getting stitched in place, it's common practice to use glue to hold things together while sewing. 


For a good primer on hand-sewing technique, this book is the bible: "The Art of Hand Sewing Leather" by Al Stohlman. It takes you through the process in very clear, illustrated step-by-step instructions. 
 It's a bit overwhelming at first, (there are actually 33 steps to his technique), but the steps all make sense, and once you practice a bit, it starts to come naturally. 

One of the challenges of this project is the back side opening is hard to see because it's inside the hood. 
 You have to use the outside needle to guide the inside needle through the hole. 
 Of course, the things I like to do are never easy... Compared to machine sewing, this is almost painfully slow at first. 
 But eventually, you settle down, and get into a rhythm. It's not a race...
 And when it's done, you have every stitch exactly where you want it. 
And it will last for a really long time!
 Thanks for visiting! Until next time... 


Saturday, August 17, 2013

Female Straitjacket - circa 1900

A friendly reader sent this link to a museum piece from the Museum Victoria located in Melbourne, Australia. It's a vintage canvas straitjacket that was actually used on female patients at the Mayday Hills Mental Hospital in the early 1900s. 

It's always fascinating for me to see unique designs for institutional restraints, and in this case the sleeves that lead into the closed pockets in the front of the jacket is something I've never seen before. 

 The jacket was obviously heavily used, and is described as "Well worn and much-mended..." Also noted was the additional stockinet padding added to the neckline to minimize chafing. 
Another quote: "Jacket has been subjected to immense pulling pressure at the shoulders." 

The F2 marking indicates Female Ward 2...

I don't think many institutions are still using straitjackets, but seeing this makes me wonder what a modern, possibly more humane version of a straitjacket might look like... 


Prototypes for Zipped His and Hers Straitjackets

I've been busy working on a new design for a couple of zipped straitjackets... a his and hers pair. (All together now: "Aawwwwwwwww... that's so cute!") Don't you wish all couples could have kink in common? I think it's pretty great when they do. 


This design evolved from the 2-tone red and black straitjacket I did for Kevin at Straitjacketed.com a few years ago. 


The idea is to simplify the original design a bit to keep the cost under control. A big factor in a traditional straitjacket's expense is the straps. There are over 160" of straps in my typical design. Because I am making these to the client's measurements, we can go with a heavy-duty rear zipper instead. I am still going for a glove-like fit...


The jackets will both feature removable crotch straps and side loops to prevent the arms from being able to slide up or down the body. 


The most time-consuming part of this project is getting the patterns sized correctly. I have to compare all measurements from the client to my master pattern, and make adjustments where necessary. This involves lots of measuring, numbers and ultimately (unfortunately) math. 


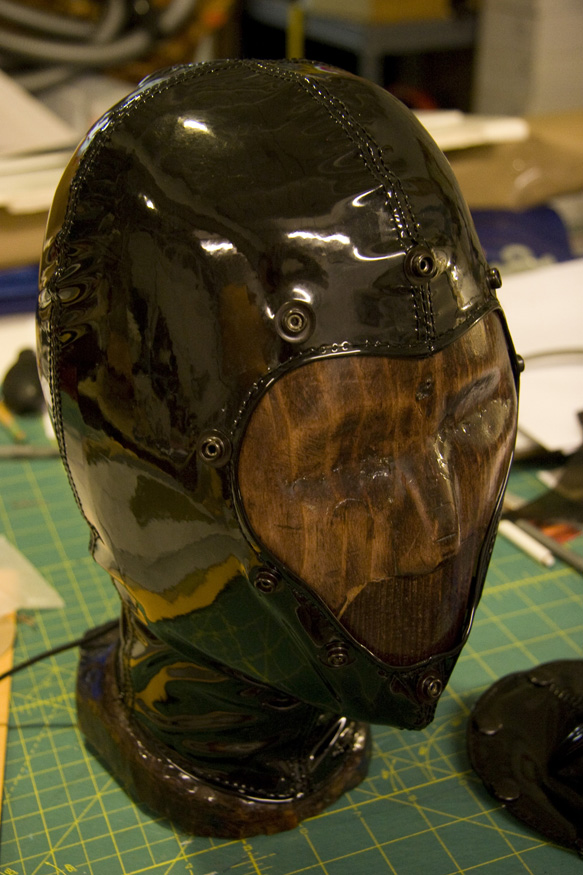
Once the pattern is complete, I build a fit-test in vinyl. I try to get a vinyl that will match the weight of the leather I'm working with, but it's hard to get something truly comparable. I hate working with the vinyl, but for now it's the best way I've found to try out pattens before making them in leather. It's itchy and it's weak, and it doesn't drape as well or breathe at all, and you can't easily flatten the seams...


But a prototype is worth it's weight in gold (or leather at least). It can tell you whether the arms are too long or too short. Do we need to make the body longer? Is the collar too tight or too loose? Need more space for the boobies? Fit problems will make themselves known here. 


Once all the feedback is taken into account, the pattern can then be tweaked and edited, and you either make another prototype, or if things are close, start working on the final in real leather. 


 I had an efficiency expert contact me out of the blue a few months ago, (a very nice fellow) and we discussed my crafting process. He was trying to help me work more efficiently and possibly make more money by doing things faster. When I told him about the prototypes, his response was "You mean you make everything twice?"... 


"Well, not necessarily... If the client's measurements are close to my master pattern, I don't have to." Let's just say there isn't a lot of hope to get rich doing this kind of work. I have seen that prototyping is a part of the process for bespoke shoemakers and some tailors or seamstresses as well. This is why custom-made costs more, people! Well, one of the reasons, at least. 


Good thing I'm not in it for the money...