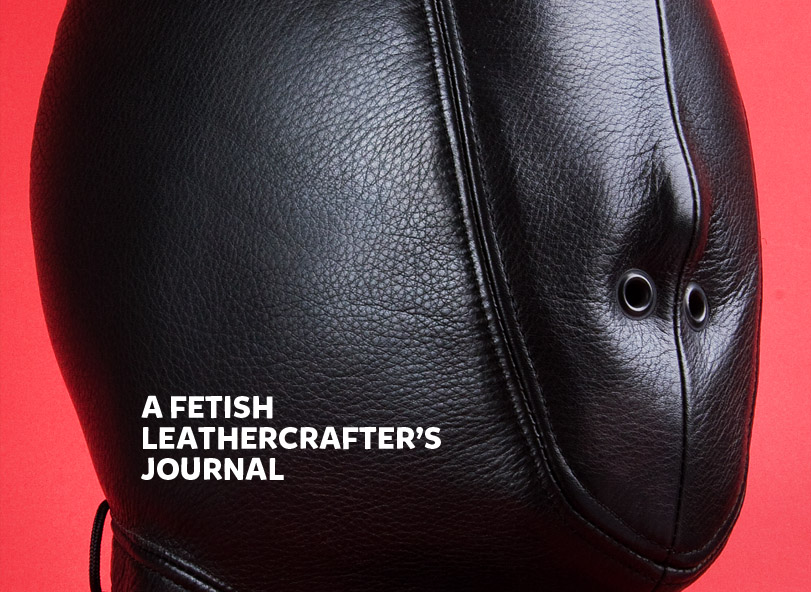
Tightest arm pockets I've ever made. Two-layered hood with foam padding. Laced and zipped rear closure. It's one dark, lovely ride.
Tuesday, June 30, 2015
Fei Fei Sun in TALL boots, gloves and fur - Vogue Italia
A stunning pictorial by Mert and Marcus for Italian Vogue's 2015 China issue featuring Fei Fei Sun. You can see the whole set here on Asian Models Blog. I think I'm ready for total Asian domination. Yes, please!
Labels:
art,
Asian beauty,
Asian obsession,
inspiration
Padded Hood Construction PART II
In this post I'll attach the padded hood to the butterfly straitjacket, finish setting the rear zipper and lacing panel in place. We left off with the outer hood wrapped over the inner hood and foam inter-layer.
Unfortunately, as good as this looks, I skipped a step. We really should sew the collar to the outer hood before stretching it over the form.
So, off with the outer hood, and let's take care of that collar, shall we?
Align the collar on the centerline, and clip in place for sewing. I find this much easier to do on the post-bed sewing machine, both for the initial stitching, and the topstitching. It allows the hood to keep it's shape while going through.
It would have to be flattened out a bit to go through the flatbed. And at this stage, I don't want to pull that foam or inner hood out of alignment. (Making closed shapes like this is exactly why I spent the money to buy a dedicated post-bed machine.)
Once the collar is attached the inner and outer hoods are clipped together at the rear. I topstitch all around this opening, tying the two hoods together, and locking the foam parts in place.
You can see in this photo a 1" gap at the rear, created to allow the lacing strip to fit nicely in the rear of the hood.
Now I want to cut all the long strips to complete the project. There are four: one lacing strip, the edge-band for the waist, the zipper tongue, and lacing panel tongue.
I managed to squeeze this entire project out of a 20 square foot remnant. But I did end up having to piece together some of these long strips from shorter pieces. I would recommend more like 30 to 35 square feet for a project like this, to have no seams, and have better choice when it comes to placing parts on the hide.
Now it's time to clip the hood to the body of the straitjacket.
Once sewn, those seams get glued and flattened. And we have a nice looking attached hood!
I love this jacket. It's so fun to see the project come together...
Now for the rear zipper/lacing panel. This technique is evolving for me, and lately I've been using double-sided tape to hold parts together during sewing. It can really help with parts like this, where you have multiple pieces held together with one row of stitching. Here we have (from top to bottom) the lacing strip, the zipper, and the part that will become the tongue on the lacing side.
I first put down a line of double-sided tape on the lacing tongue.
The zipper is attached to that, and a second line of tape is laid down on the zipper to hold the lacing strip in place.
I sew a small tab of leather to the end of the zipper. It acts as a stop, and gives me something to sew through when setting the zipper into the hood.
The lacing strip (which has been skived down to taper near the end) is held in place with the double-sided tape. This whole sandwich of lacing strip, zipper and lacing tongue are all run through at one time, sewing them all together.
The strip we create will get sewn in to the rear of the jacket, but I'm following my usual technique for locking the strip into the rolled edge. To do this, I have to start the rolled edge, and insert the strip half-way through.
I can post a more detailed description of that if anyone's interested...
Our lacing/zipper strip gets some double-sided tape to hold it in place during sewing.
I tend to do a strip along the top as well, to keep it properly aligned during sewing.
After sewing the strip in place, this is the final result: A zipped, laced rear opening.
The lacing is great for adjusting the tightness and intensity. The zipper makes getting in and out a lot quicker and easier.
And, you'll be happy to note that I did provide a breathing hole.
That about wraps up this project folks. Thanks for following along!
Time for some real-world testing…
Labels:
butterfly straitjacket,
foam padding,
hood,
how-to,
sensory deprivation
Saturday, June 27, 2015
Padded Hood Construction PART I
In this post I'm going to take you through my process for making a foam-padded hood. This is actually two leather hoods: one inside the other with a foam layer in between. The foam provides both an overall tightness, and adds to the sensory-deprivation of the poor victim/lucky slave trapped inside. Also, it looks really cool! Let's get started.
I begin with my foam pattern parts, cut out from the same pattern I use for the outer hood. It's about 1" thick, cut out with scissors.
There's an offset pattern for this project, as this hood is going to attach to a butterfly straitjacket which will have both a zipper and lacing closure. There is about a 1 inch allowance for the lacing strip. More on that later...
I layout my parts on the outer leather, which is a 1.2mm thick soft cow hide.
Here you see all the parts for the outer layer. Kind'a forms a funny-looking face.
For the inner hood, I'm using the classic four-panel pattern that can be found here, made in a soft lamb leather (about 0.7mm thick). I'll only use the front and rear panels (no tongue parts) as the tongue will be created for the entire jacket, not just the hood. More on that later too...
The weirdest thing about this inner hood is I'm going to build it inside out. I would normally have the seam on the inside of the hood. But since I don't want the seam to press on my slave's pretty little face, I'm going to make the seam on the outside of the hood.
This isn't usually possible, as it would look kind of funny to have the seam on the outside.
But since the "outside" of this hood is going to be hidden by a layer of foam (and the outer hood), it's the best way to go. I had to really be careful, because I'm so used to the suede side of the workpiece being the one facing out during sewing. All the marks for the pattern were traced on the "good" shiny side of the leather as well.
So here I'm done with sewing the inner hood together.
With the funny seam allowance sticking out all over...
But it's nice and smooth on the inside. She's going to love it!
I decide to trim the seam allowance to a bit more than 1/8".
I put it on the hood form.
And from here I can brush on some glue along the seams.
I gently pry the seams apart (a stitch ripper helps)...
...and flatten the seam all along its length.
And here she is all smoothed out.
It should feel nice and smooth on the inside.
Now for the foam parts. These get hit with a generous coat of spray-adhesive.
I decided to spray the inner leather hood as well: I don't want anything moving around once the foam is in place.
Plus, it has to stand up to the (pretty tight) outer leather hood being pulled over it. There's a lot of friction between the foam and the leather, so don't skimp on the adhesive.
I start with the face piece. This has a center alignment mark from the pattern, which helps make sure it's in the right place.
Next, I add in the side panels, being sure to tuck the edges in so the surface is nice and smooth.
There's also a dart in the back of the side panels to help it create the cup or bowl-shape of the base of the skull.
Coax the foam around, and you can make the seam and dart pretty much go away.
It takes some trimming, but the rear foam panels are positioned last.
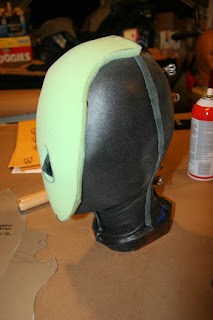
We have a good-looking foam-covered hood at this point. Every thing tucked in, and seamless, ready for the outer heavy leather cover.
This is the trickiest part of the whole operation: get the tight outer hood over the foam without pulling anything out of place. It's a really tight fit, so I'm glad I used all that spray glue.
Once it's all tugged and pulled into position, I'm pretty happy with the way it is looking. That smooth curved contour is really nice and sculptural, and the contrast between the big head and tiny neck is really sexy.
Can't wait to see it on.
That's it for now... Next time: closing the back, and adding it to the jacket.
Labels:
foam padding,
hood,
how-to,
sensory deprivation
Subscribe to:
Posts (Atom)


