
 I just completed a custom f-suit, which always is a fun and challenging project. This is one I had made a prototype for a few months back, and awaited the feedback from the client in order to make sure the pattern was just right. We ended up making a number of edits and adjustments to the pattern.
  People often ask me what type of leather I use, as there are many kinds out there. For this project I use a hide that is usually stocked by my local vendor called Leon. It offers a nice combination of strength and softness, with a full uncorrected natural grain and a nice shiny surface (but not TOO shiny!). You can see from the tag that it's a 50 square-foot full hide, and this project will use just about the entire hide. (I hope to do a more detailed post on my suppliers in the future...)
I'm not going to take you through every step on this, as I have already done a "how-to" post on the f-suit, but I will show a quick run through, and focus on one detail that sets this f-suit apart from others I have done: elbow and knee pads.
Here are the cut-out pattern pieces for the front and back of the body:
 The arm pockets:
 And the leg pockets:
 For the elbow and knee pads I'm using a high-density foam pad, which you can find at Target or the local hardware store. The foam sold at the local fabric or craft store isn't nearly dense enough to create a comfortable pad. I am hoping this will provide a durable, effective solution.
 I'm cutting the shapes out with a surgical prep razor blade - these things are scary sharp, and longer than a standard razor. They go through the foam like cutting butter.
 I also cut triangular grooves out of the inside curve, to accomodate the bend at the elbow and knee.
  Here's a side view...
 The idea is to make it a bit easier for the pad to take the shape of the sharp bend in the elbow of the arm pocket.
  The pads will be covered in leather (of course!) and held in place with velcro patches.
  Here we have the finished elbow and knee pads.
 I used 2 inch velcro, with the softer fuzzy side going into the suit.
 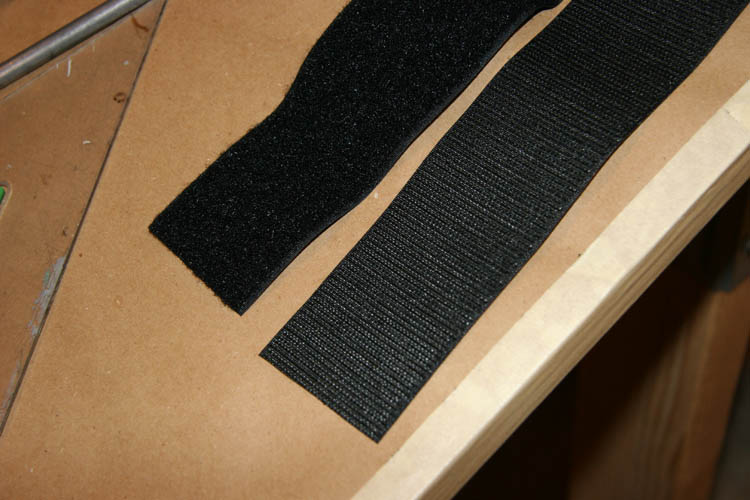 Arm pocket, sub assembly:
 Foot pockets, before zippers...
 ...and after:
 Zippers were also set into the front panel of this f-suit:
 Front panel sub assembly, complete!
 Here I'm ready to sew front and back together.
 Here we skipped ahead a few steps: Zipper has been set, tongue sewn in. Arms ready to be attached...
 And arms complete.
  Add the legs, and our f-suit is complete! Here's the back...
 And the front...
 That's all for now, folks... Another one for the history books. Thanks for following along!
No comments:
Post a Comment