In this post we'll make the hood and attach it to the body of the sack. We begin with our six hood parts: L+R front panels, L+R rear top and L+R rear bottom panels.
The fronts are clipped together for sewing, along with the top and bottom halves for the rear panels.
This center seam in the rear panel really helps make the hood take on the spherical shape of the back of the head, especially with a slightly heavier leather like this lamb-tan. The two rear panels are then sewn together an inch or so at the top.
These 3 seams get glued and flattened.
The front panel is stitched slowly and carefully, being sure to leave the mouth area open (at least on this version). This is the point where you want to do whatever variations you have in mind for the front of the hood: before you sew on the back.
I use the head form to start molding and shaping the hood. To me it's the most important part, and it has to fit perfectly.
Working with the fitting hammer, scissors and razors, the seam is flattened and the leather around the mouth opening is folded back. You are sculpting the leather, almost like clay.
Take your time to work it, and get a nice smooth opening.
Trim, undercut and skive to get the seam as flat and smooth as possible.
Once I'm happy with the shape of the mouth, the front seam is topstitched. Can you see the path I took around the mouth? I think having no crossover of the center seam kind of gives the mouth a cleaner look.
With the front of the hood complete (you can see I punched holes and set grommets for the nose), it's time to join the front of the hood to the back.
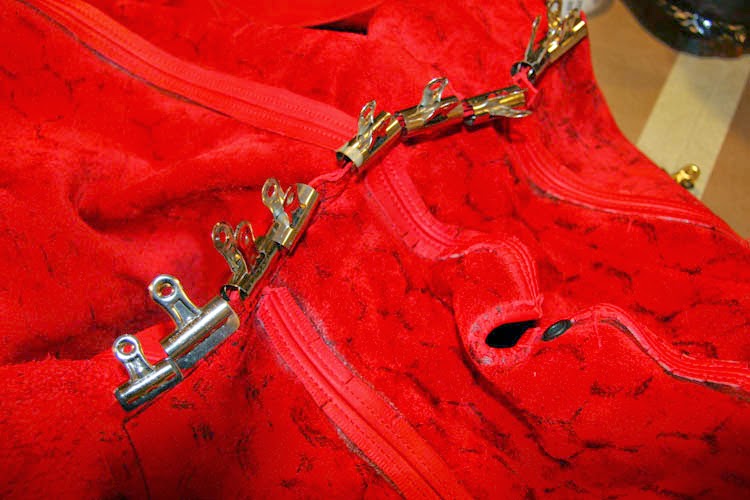
Use clips to hold the front to back, aligning on the center seam.
Once sewn, it's on to the wood head form for the glue-up of the center seam.
I find it's easier to glue neatly on the form, and the hood is held in tightly in place with painter's tape. I also have been gluing first, and cutting the small darts after the glue has set up. Makes for a neater glue job...
Once set up, the seam is flattened...
I like to leave the hood on the form overnight to stretch it out a bit...
The next day, we have a hood ready to attach to the sleepsack body.
Working inside-out, we align the hood on the center seam.
This is probably the most nerve-wracking to sew, as the different shapes coming together present a challenge. And it's a highly visible connection where the hood meets the body.
It has to be perfect, and at this stage any screw-up has the potential to ruin both the body and the hood. No margin for error, really...
Fortunately, it turned out okay...
Once it's topstitched, everything got a little brighter for me. Just stunning... And we're almost there.


I like to see things you do in the use! a question (maybe difficult to answer?) is it possible to have the boss of this Make a Boot Binder Sleepsack for a person to 1 put 175
ReplyDelete