
The next step on our project is attaching the rings which will become the attachment point for the removable straps. To do this we first need to figure out the correct size of rivet to use... You don't want to use a rivet that's too short - it won't seat properly. You also don't want the rivet to be too long, or it won't snug down and hold the parts securely.

I had an assorted package of rivets, and just because I'm anal and obsessively organized, I needed to sort them by size first:

I also have the need to convert everything to decimals to make it easier to add the proper allowance to the rivet to get the right size. You want the rivet to be one-eight to one-sixteenth of an inch longer than the thickness of the material you are riveting.

Since there's a rolled edge on our project that keeps me from being able to measure it directly, I need to make a mockup using the same number of layers on the jacket. There are 5 layers total:

It turns out to be just under a quarter-inch thick.

Add the minimum 1/16" (0.0625") plus the .247" and you get a minimum rivet size of 0.3095". If you go with the 1/8" maximum (0.125") plus the .247" you get a maximum rivet size of 0.372". The closest rivets to those sizes are the 5/16 and the 6/16" sizes.

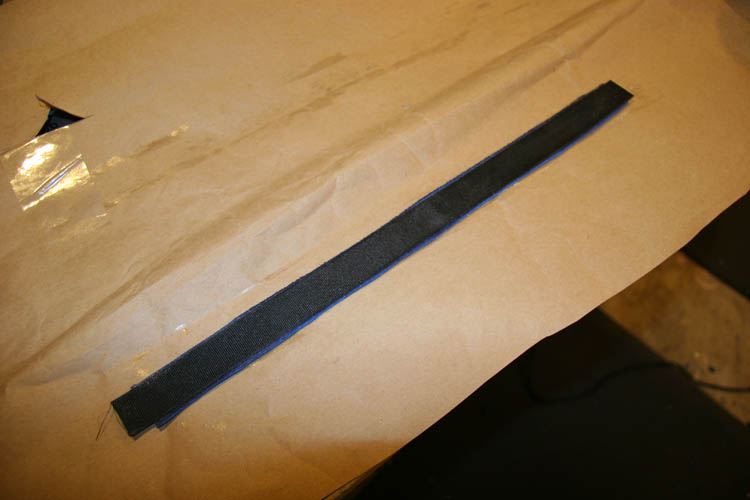
Before riveting the straps, I want to glue a reinforcement to the back. This is a tough nylon ribbon, very low-profile, with no stretch at all. It will back up the leather and add a lot of strength.

Both parts get glue...

Fortunately the nylon strap is slightly under one inch wide, so it shouldn't be visible.

It's time for the hardware loop. For this jacket I'm using these really nice heavy-weight nickel loops from Sav-Mor Leather in LA. Compared to the typical "strap-keeper" loop, it's much heavier and about 5 times the cost (60¢ vs. 13¢). But worth every penny! I'm not sure if they are cast, but they don't have the visible "weld" or gap that you see in the cheaper, lighter-weight loops. (I totally recommend these loops, and yes, Sav-Mor can handle mail-orders!)


The straps are centered on a mark 5 inches apart, 2.5 inches from the centerline.

Pilot holes punched:


I measured and marked the positon for the rear rings, on either side of the zipper. Holes punched, and rivets set...


No comments:
Post a Comment